how to prevent water from appearing inside a boat's hull
have you ever tried to put a boating mechanic in your Unity game, but upon placing the boat in the water, the water appeared inside the boat?

this boat does not inspire confidence – and not just because it’s a leaf
if so, you may be interested to know that there’s a simple solution to this using shaders – specifically, leveraging the “depth buffer” and “render queues” in a clever way.
please note: I’m no shader expert, but I’ve just enjoyed learning about shaders through the development of Bug Band. this blog post mostly expounds on the idea originally outlined in a 2012 post on a Unity community forum (now hosted only on the Wayback Machine, all hail). shout out to the authors Neil Carter and Daniel Brauer, wherever they are now! and shout out also to Philip Herlitz’s video on this very topic, which is how I found that 2012 post, and learned a few more tips and tricks. (I’ll be sure to shout them out again as their takeaways come up)
important shader terms
depth buffer
the GPU leverages the depth buffer (also called “z buffer”) to optimize drawing objects: if one pixel on one object is behind another pixel on another object, there’s no point in drawing the first pixel. we would say in that case the second object “occludes” the first.
the depth buffer is typically written to in an early in each object’s shader, with built-in Unity ShaderLab feature ZWrite On.
render queues
the GPU is able to run shader code largely in parallel, but needs to render for example opaque objects before transparent objects.
the object rendering order is largely controlled with the Queue tag in Unity ShaderLab, and the predefined values include "Geometry" (equivalent to 2000; opaque geometry uses this queue), and "Transparent" (equivalent to 3000; reserved for anything alpha-blended).
we can also queue objects to be rendered between all objects rendered in "Geometry" and "Transparent" by assigning any render queue between the two, for example "Geometry+10" (equivalent to 2010).
the plan
the plan is to use the above shader features to prevent the GPU from drawing the water in the boat at all.
we can do this by creating a “depth mask object.”
1. create our depth mask shader
would you believe that the ShaderLab code from the aforementioned 2012 post works exactly as is?
Shader "Masked/Mask" {
	SubShader {
		// Render the mask after regular geometry, but before masked geometry and
		// transparent things.

		Tags {"Queue" = "Geometry+10" }

		// Don't draw in the RGBA channels; just the depth buffer

		ColorMask 0
		ZWrite On

		// Do nothing specific in the pass:

		Pass {}
	}
}
for what it’s worth, Bug Band is on Unity 6+ and URP, but neither Unity version nor Render Pipeline should matter. those familiar with the nuances may notice there’s neither CG nor HLSL code to convert, because we don’t do anything in the Pass at all.
if you’ve never created a shader in Unity before, you can create this
.shaderfile in your Unity project by right-clicking in the project view and select Create > Shader > Unlit Shader, naming the fileDepthMask.shaderor whatever you want, opening the file in any text editor, and replace the contents with the above.
2. create our depth mask material
for those not familiar with Unity shaders – in order to apply a shader to an object, we’ll need to create a material, which sort of “instances” (to use a code-y term) the shader.
if you’ve never created a material before – right-click in the project view and select Create > Material. all that’s left to do is apply our shader, which you can do in the dropdown labeled “shader”, and navigate to Masked > Mask.
3. create our depth mask object
last but not least, create our depth mask object. to start, we can create a simple cube as a child of our boat.
right-click our boat object in the hierarchy, select 3D Object > Cube), adjust the size so the bottom of the cube overlaps with the boat’s hull, and the top of the cube is above the water level.
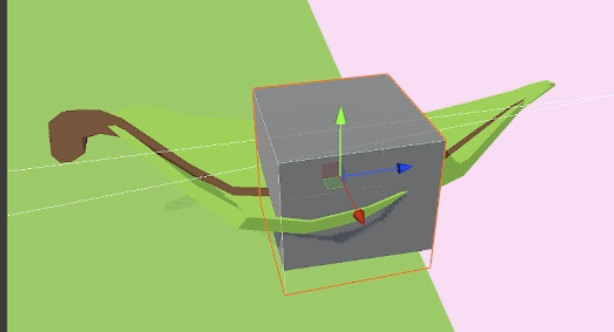
default cube meets leaf boat
finally, apply our depth mask material to our cube’s mesh renderer in the inspector – and it disappears! (or does it?)
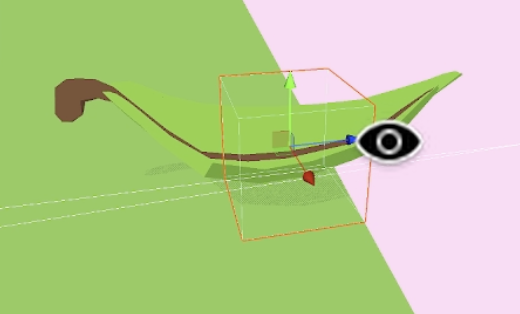
most importantly, the water is (mostly) no longer appearing in the bottom of our boat, but there are also some new weird visual behavior wherever our cube occludes the water.
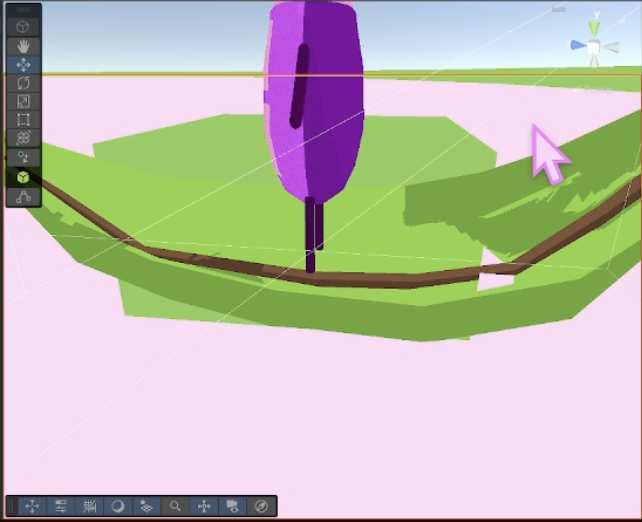
what’s happening?
let’s break down the shader code that we’re using above, using what we know about shaders.
our depth mask is rendered after opaque objects
notice that "Queue" = "Geometry+10" specifies that our depth mask object is rendered after opaque objects, which includes our boat, our player character, and also whatever is below the water.
our water is rendered after our depth mask
the unspoken assumption here is that our water is rendered with "Transparent" objects, which are rendered after all "Geometry" objects and any masks (like ours) that come after them. if the water is rendered with opaque objects, our depth mask will not have the intended effect.
how can we tell what our water’s render queue is? below are a few indicators:
if our water looks “alpha-blended” (or see-through), then it’s certainly rendered with
"Transparent"objects.the material on our water in the Unity inspector should have an integer input labeled Render Queue – if that integer is 2000, it’s
"Geometry"; if it’s 3000, it’s"Transparent".the shader code of the water’s material should have a
"Queue"tag, or lack thereof – if it’s specified, there’s your answer; otherwise,"Geometry"is the default value.
how to ensure our water is rendered after opaque objects
the question remains: what do we do if our water is rendered with opaque objects in "Geometry"?
well since a material “instances” a shader, we can just modify the Render Queue in the water’s material inspector to be just above your depth mask shader’s – say, 2020, which is equivalent to "Geometry+20"; or we can just tag the water’s shader to be rendered with "Transparent" objects, if that makes sense for us.
or, we can create and apply the script offered in the aforementioned 2012 post, where the default queue value specified in the script is 3000, and otherwise we can override the value in the script’s inspector on the water object (I can imagine this being really helpful if you have a water prefab for many water objects):
/*
	SetRenderQueue.cs

	Sets the RenderQueue of an object's materials on Awake. This will instance
	the materials, so the script won't interfere with other renderers that
	reference the same materials.
*/

using UnityEngine;

[AddComponentMenu("Rendering/SetRenderQueue")]

public class SetRenderQueue : MonoBehaviour {

	[SerializeField]
	protected int[] m_queues = new int[]{3000};

	protected void Awake() {
		Material[] materials = renderer.materials;
		for (int i = 0; i < materials.Length && i < m_queues.Length; ++i) {
			materials[i].renderQueue = m_queues[i];
		}
	}
}
our depth mask just writes to the depth buffer
next in the shader code are two flags, and the only function of this shader:
ColorMask 0
ZWrite On
here we skip writing to any color channels so the object appears transparent (see: ColorMask reference), and we’re also writing to the depth buffer (see: ZWrite reference).
in other words, we specify that the GPU should not actually draw our depth mask object over objects that have already been drawn, but we do want the GPU to know how close our object is to the camera relative to other objects – specifically, that it’s closer to the camera than the water is.
this leverages the fact that the GPU will not draw pixels that are occluded by other objects.
in conclusion,
the GPU draws the leaf boat and then notes that our mask is closer to the camera than the water, so it does not draw the water in the leaf boat.
bonus: why can’t we render the depth mask in “Geometry”?
honestly, I don’t know! I thought "Geometry" was just an un-opinionated ordering, but I tried to render our depth mask in "Geometry" without adding 10, and Unity seemed to add some default coloring. (spoiler: by the end of this walkthrough, we’re not using a cube anymore)
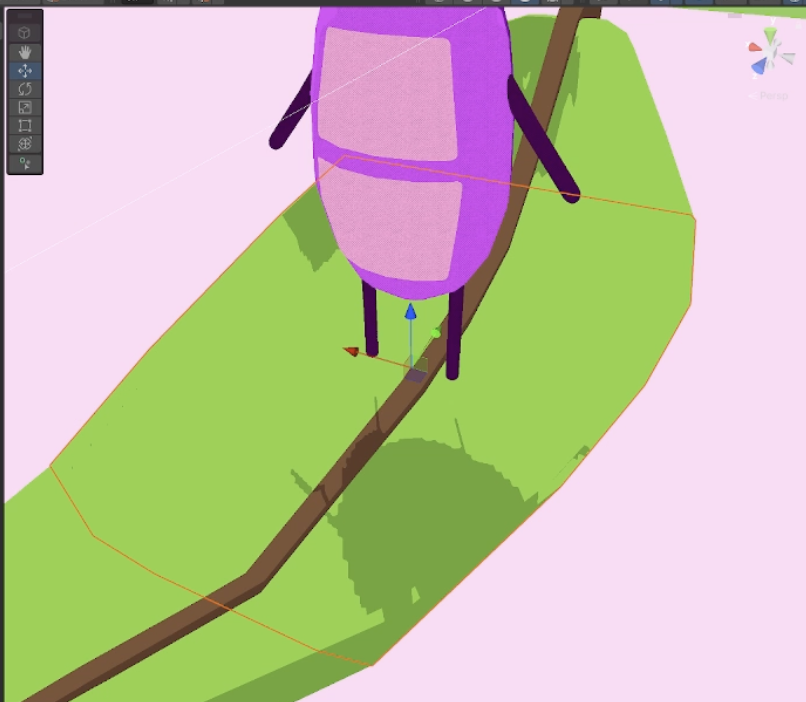
with depth mask object rendered at “Geometry+10”
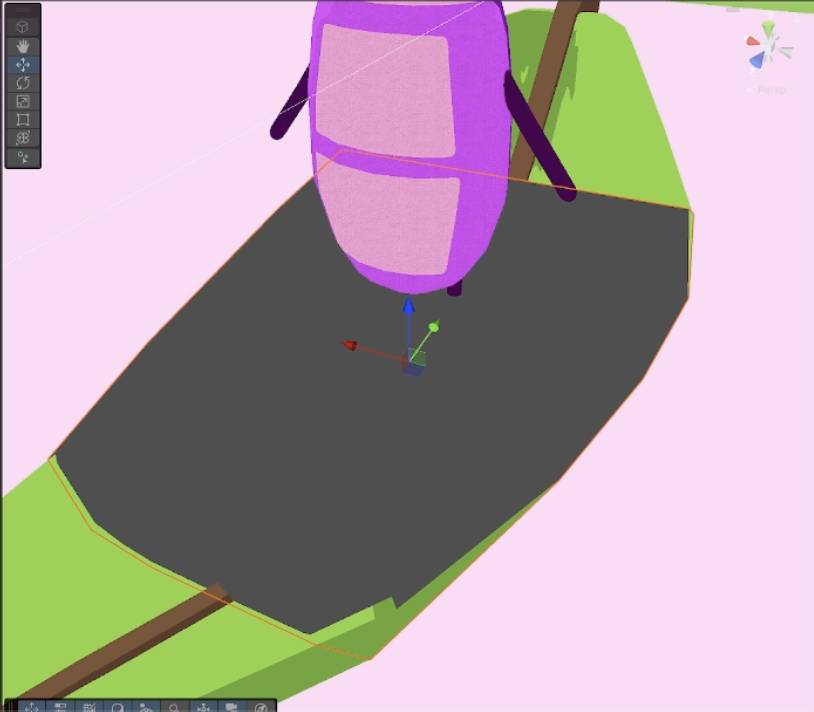
with depth mask object rendered at “Geometry”
if you are reading this and you know why the GPU draws our depth mask object even though we’ve disabled color writes, I would love to hear it! this section is begging for an addendum credited to you. : )
refining our solution
now that we have our plan and know how it works, all that’s left to do is create an object that fits the requirements of our depth mask – namely, it is higher than the water level, but not higher than the sides of the boat, so players don’t see water disappear even beyond the hull of the boat wherever the depth mask may occlude the water.
if our boat had a separate mesh for the floor, we could just duplicate the floor, re-position it to be above the water but still within the boat’s hull, and use that as our depth mask object.
our leaf boat is a solid mesh though, so we will turn to everyone’s favorite open source 3D modeling software: Blender.
using Blender to create our depth mask object
I want to give another shout out to the aforementioned video by Philip Herlitz on this topic, because it walks through the exact strategy for doing what I describe below.
let’s import out boat model into Blender and remove any unnecessary meshes.
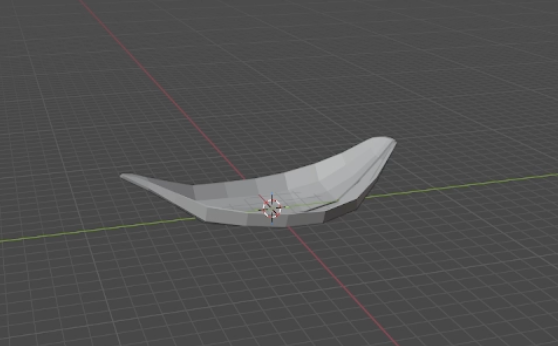
select our boat’s mesh in the hierarchy, and Tab into Edit Mode. since the top of our boat is irregular (the ends of our boat are higher than the sides of our boat), we need to delete vertices that come above the sides of your boat before moving on.
enable X-ray mode, lock an axis so we look at the boat from one side, and then select all the vertices we want to delete with the drag select tool.
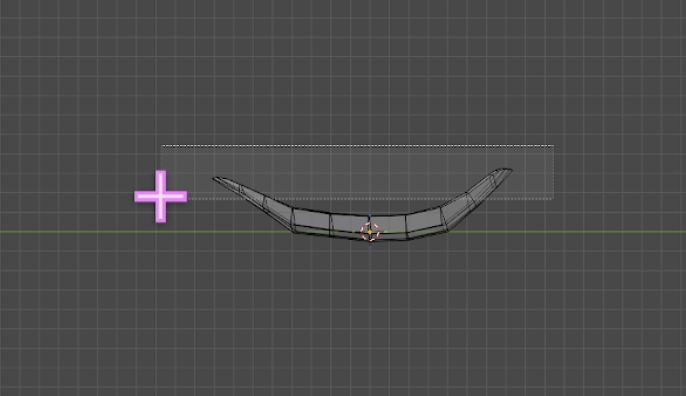
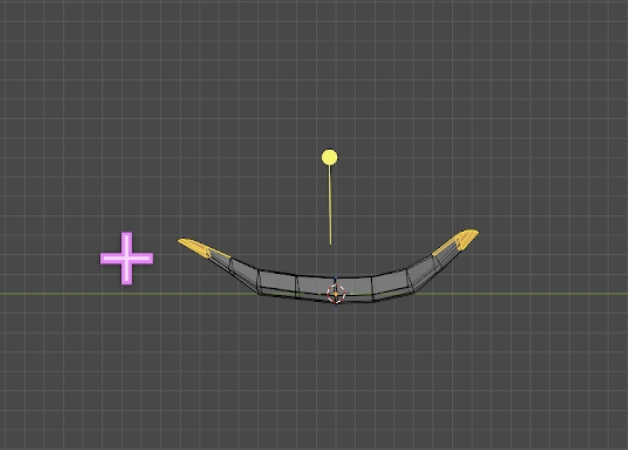
next, select all vertices in the mesh by pressing A, and then in the Mesh menu, select “Convex Hull”. the result is a version of our boat that looks like someone stuffed it with clay.
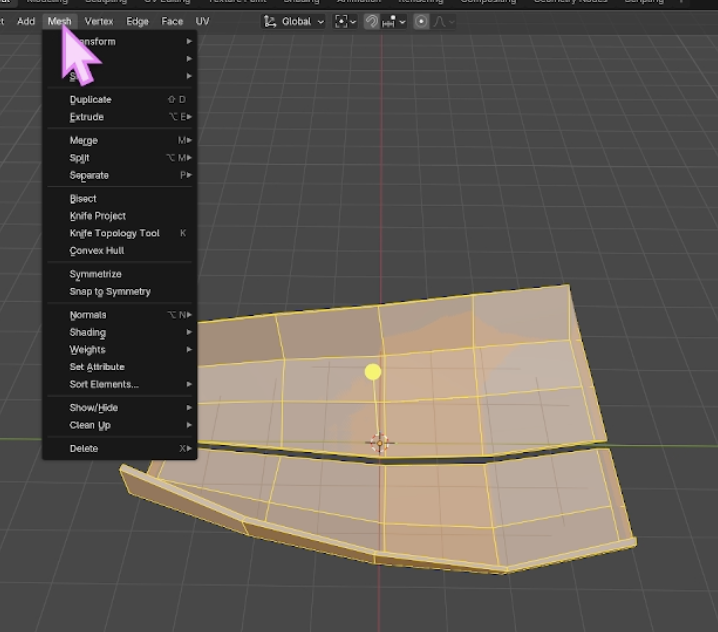
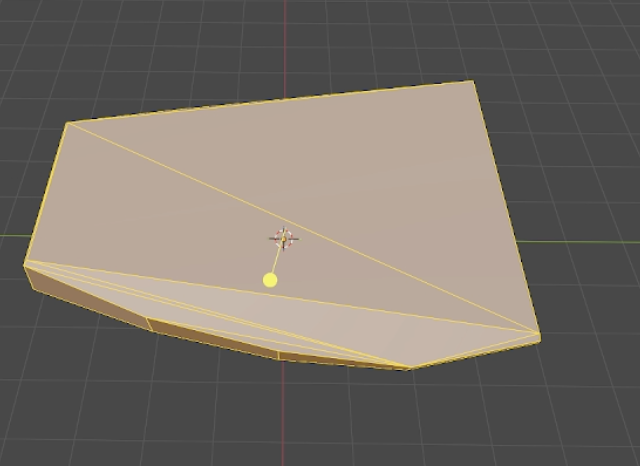
behold: the platonic form of a leaf boat’s depth mask object
the final product
finally, with our refined depth mask object pulled into our Unity project, we can make that a child of our boat object, and apply our depth mask material to the depth mask object. at long last: a boat as dry as bone.